Type 13 - Body Panels
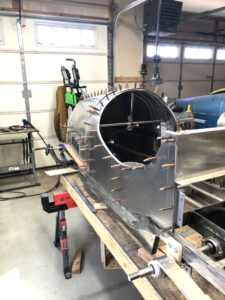
After many months of work, it was finally time to skin my creation so it could start looking like something real and tangible. I purchased a 4′ x 10′ sheet of aluminum from a supply store in Salt Lake City, Utah for this project. This supply store was about a 400-mile round trip from my home in little Iona Idaho and was the closest place where I could afford to buy sheets of aluminum. I have searched high and low here in the local Idaho Falls area, but full sheets were Salt Lake prices times two to get them here. So I simply took advantage of one of my many trips to Utah for family events and bought an entire sheet. Wow, aluminum prices are through the roof, I am shocked at how much they cost. As it turned out, I am really super glad I bought a full ten-foot sheet as that is almost exactly what it took to build my Bugatti.
I thought the side panels would be the easiest so that’s where I began. As it turned out there was a complicated curve towards the front, necessitating the use of an English Wheel which I reluctantly bought. See Learning the English Wheel where I described what I went through to complete the skinning phase of this project.
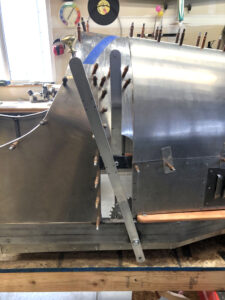
My first-panel attempt almost ended in disaster, but I rescued it out of frustration and cut it back in size to avoid the front curved cowl area. In doing so I would end up with a rather sharp bend where two adjoining panels would meet, but that was better than the mess I created when I started using the English Wheel. Now, with my better understanding of how to use the English Wheel, I recognize how easy it would have been to keep the longer length and form the front with the wheel. But that’s sometimes how the learning curve works and I just have to live with it as is.
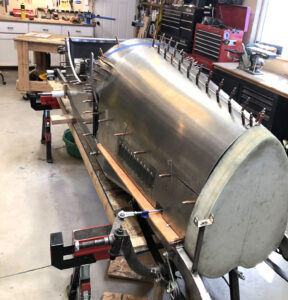
Once each side panel was built, I dove headfirst into the body cowl piece which is the top skin immediately in front of the driver, This had a compound curve and really tested my nerves. But I persevered, even though it represented the deepest part of the learning curve. I had to keep reminding myself that I was building this to learn new skills and that it would have its ups and downs. Well, this piece gave me plenty of downs, with a couple of start overs when I threw in the towel by running it through my set of 30-inch rollers to straighten it all out flat so I could start all over. As such, it’s a bit beaten up, but since it’s going to be sanded, primed, and then painted, it will be OK in the end. But I must say, getting that cowling piece on was a trial by fire and I was fully burnt.
Next were short pieces of the cowl area I had initially cut off of the side panels. Now with my baptism by fire initiation of the English Wheel behind me, I easily formed these pieces and fit them to the surrounding skins like a pro. It was a nice change to feel like I was making good progress, even if it was slow.
Nearing the end, came the much-feared two front hood pieces. After watching Steve Vinson’s forming video multiple times, receiving the 8″ anvil die, and fixing the English Wheel wobbly defect, I proceeded with great success. I had each panel formed in just a matter of minutes!
Fitting them to the large-size Army Surplus supplied hinge and other surrounding panels took some doing, but it wasn’t rocket science nor art per se, it was just taking each step in the right sequence so that when completed it all aligned and fit. While time-consuming as you had to take the hood on and off many many times, it all went pretty well and I was most pleased.
Finally, came the back piece of the cockpit. It was all flat with bent edges so it went smoothly and fit very well.
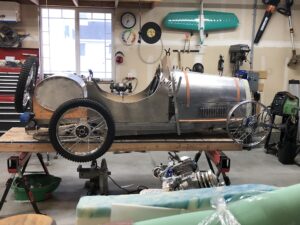
I am fairly happy with the final result. It’s not as professional a finish as I had hoped for, but for a first-time effort, I think it turned out pretty good. If it were not so expensive an endeavor, I would have loved to redo the two side panels with the lower cowling integrated as I originally intended but time and money will not permit that. Thank heavens I am painting this machine; my hat goes off to those whose work is so good and flawless they can afford to show off their metalwork without necessitating paint to cover it up.
